Native American crafts you can make from home using a Cricut!
If you love glitter, felt, cardstock, and own a glue gun (or two!) you've probably tried your hand at crafting. If you handmake your holiday presents and know four different ways to tie a bow, then you are definitely crafty. And if you can DIY just about anything and have more Pinterest boards than you can count, then you are 100 percent crafty.
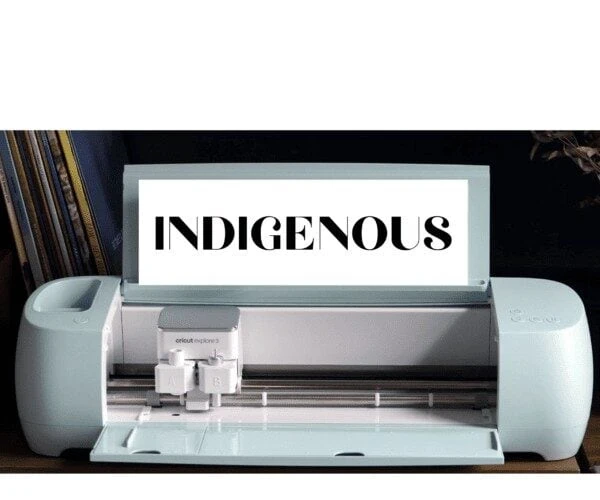
Now that we’ve established that you love to craft, we can more than likely guess that you either own a Cricut Maker cutting machine or know someone who does. There’s no shame in the Cricut game! If you aren’t too familiar, the Cricut Maker is a one-of-a-kind, multi-tool machine that can work with hundreds of materials to design and create just about anything.
SHOP CRICUT HERE
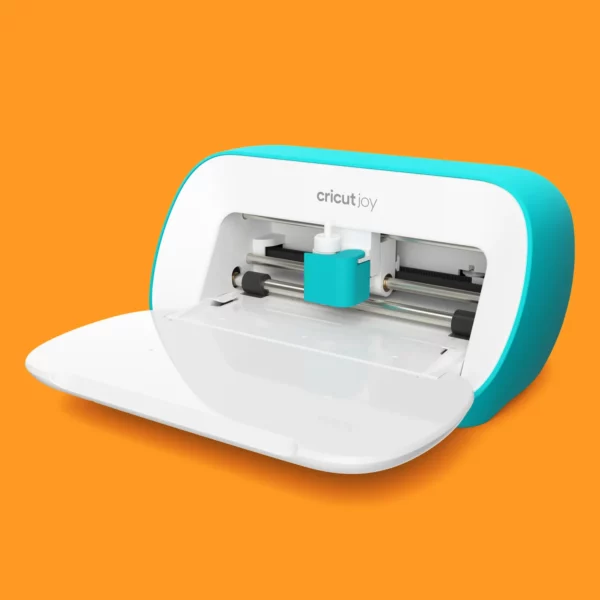
All Cricut users can access Cricut’s Design Space, the online platform for using, uploading, or creating artwork and designs to print and cut with the machine. There are over 150,000 designs on Design Space from which to choose. Users can select ready-made projects or they can create something entirely unique. The Cricut Maker is literally a window to endless crafting possibilities.
Whether you’re a parent, teacher, or really just love making and creating, using a Cricut machine is a convenient and engaging way to make complicated crafts the easy way. Get a group of friends together, pop open a bottle, turn up the music, and craft away! Or pick a project out with your children and spend a rainy day constructing something amazing. Crafting is an excellent way to reconnect with yourself and your environment and enjoy the little things around you.
If you’re interested in making Native American crafts and own a Cricut—or can get your hands on one—there are various beautiful and interesting projects you can work on.
Keep reading for some creative Cricut Maker inspiration!
Design Your Own Native American Mug With A Cricut
Image Credit / TheNTVS
Designing an image and creating a cute and catchy mug out of it is pretty simple. Mugs make fun gifts, and with a Cricut, you can put anything on the mug that you want. If you're interested, here are some of our favorite Native American coffee mugs. Otherwise, skip browsing through Etsy and Amazon for the right idea; the right idea is already in your head and you can make it a reality in a few simple steps.
- First, you need (obviously) a Cricut Maker. If you don't have one, you can browse Cricut's offerings. here. You don’t need the latest or most expensive version, you just want to make sure it still works and is compatible with Design Space and the phone, tablet, or computer you will be working on. You will also need however many ceramic mugs you want to use for this project. Two to four white, ceramic mugs is a good starting point.
- You will also need your 12 x 12 Cricut cutting mat and transfer tape for the vinyl you will ultimately need.
- Log into Design Space and figure out what images, fonts, and colors you want to use. You can search by keyword, such as “Native American,” to find pre-made designs. You can also upload designs that you’ve personally made or have found online. Be wary of copyrights and user privileges if you are snagging someone else’s design though, and definitely do not sell any products that have a design someone else owns the rights to. If you are dead set on a Marvel or Harry Potter design, however, we recommend using the Cricut Access Membership Plan, which gives you discounts on licensed content, and a host of other benefits.
- Purchase permanent vinyl in whatever color you want your design to be. Vinyl can easily be found at any craft store and sometimes even cheaper online, depending on where you look.
- Size your design in Design Space depending on how large the mug will be and how you want it to look. A good design-size example is 3” x 2.5”.
- Print your Native American design on the vinyl and then cut around the image and weed it. Weeding is simply removing all of the excess material.
- Now it’s time to apply the transfer tape to the weeded design. Peel back the vinyl paper and press the design firmly against the mug.
- Once you peel back the transfer paper, you're finished!
It is highly recommended that you handwash your new creation to extend the lifecycle of the design.
You can use the exact same method to decorate terra cotta pots, wine glasses, an office wall, or a child's space. Or you can create your own personalized wall art, welcome signs, labels, decals, and more. Below are a few more examples of how taking a Cricut and some vinyl can turn you into a Native American craft master.
*Note that not all of these Native American crafts were made with a Cricut. They're rather examples of things you can do with a Cricut.
Image Credit / Boop Decals
Image Credit / Comic Frogs Vinyl
Create Native American Earrings With a Cricut

Image Credit / Domestic Heights
Who would have ever thought you could make stylish jewelry at home in just a few clicks? Show off your personality, design gifts for your friends and family, keep up with the latest fashion without breaking the bank, and have fun while doing it. The Cricut Maker isn’t just for paper products. Users can cut over 300 materials using the various blades offered by Cricut. This means that you can design your own jewelry with faux leather, foam, felt, foil and other fabrics.
Switch up the texture, style, and pattern of your accessories as much as you want. This example will teach you how to make faux leather jewelry on your Cricut.
Before you get started, make sure you’ve collected the necessities:
- You will need a rotary blade and a standard grip mat, which the Cricut comes with.
- You also want to have the faux leather ready to go. Cricut actually sells a thin, leather sampler on their site and on Amazon and these will work perfectly for this project. And there are also other brands that sell them online as well.
- Buy vinyl or transfer tape for the back of the leather so you do not ruin your grip mat.
- Lastly, you will need a simple jewelry-making kit, or if you’ve done it before, have all of the accessories ready to make your design into actual, wearable earrings.
- Determine what design you want to use. You can browse through Design Space, but there are also tons of free and inexpensive templates that others have to offer on Pinterest. Type in some keywords and find one that works on the Cricut with faux leather.
- Line the back of the leather with vinyl or transfer tape.
- Begin cutting your design with the Cricut.
- If the Cricut won’t cut a hole in the material for the hook, simply use a pin and make it yourself.
That’s it! When you’re done with your Native American crafts, add metallic accents or some shimmer if you want. Or browse those other 300-plus materials the Cricut can cut, and add a pop of color or shine to the faux leather.
Image Credit / Michaels
Add a New Native Throw Pillow to the Bunch
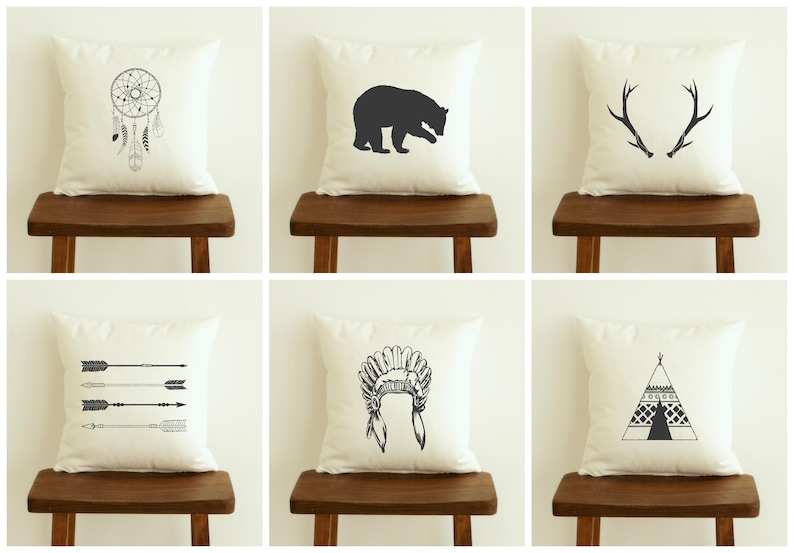
Image Credit / Etsy
Tired of looking at the same old throw pillows all year round? Design and create a throw pillow for all four seasons to give your living room or bedroom a fresh new look. With Cricut iron-on designs, you can make yours in a matter of minutes. Even if you don’t need a new throw pillow for your couch, you can always use one to support your back in the car, office or craft room. Or. you can simply set one aside as decor. Throw pillows also make thoughtful gifts as they add an individualized look and feel to any room.
Follow these easy steps to produce yours:
- Gather your supplies.
- Whatever throw pillowcase you want to use; 18 x 18 is a pretty standard size.
- Find the colors you want in heat transfer or iron-on vinyl.
- Create your own image in Design Space and cut with your Cricut on a grip mat and weeding tool. Or use a pre-made Cricut Iron-on Design.
- A Cricut Easy Press (if you have one), otherwise use any household iron.
- Any accessories you might want on the pillow, such as tassels or pom-poms.
- Smooth out all wrinkles with the Easy Press or iron.
- Place your design on the pillowcase exactly where you want it to be.
- Avoid ironing your design like you would clothes. Instead, press the iron down onto small areas of the design and hold for about 30 seconds. Move to the next small area. And to avoid burning your pillowcase, cover it with kraft paper or a tea towel.
- If you aren’t using an Easy Press, you must apply a lot of pressure to the iron to ensure the vinyl melts into the fibers of the fabric and sticks.
- If portions of your transfer aren’t sticking when you peel back your carrier sheet, simply put the sheet back down and keep pressing.
And you're done!
Avoid washing the fabric for at least 24 hours to allow the vinyl to sit. Also, if you must eventually wash it, turn it inside out and set the machine on a gentle cycle, unless you want to wash it by hand.
Here's another Native American throw pillow example for inspiration:
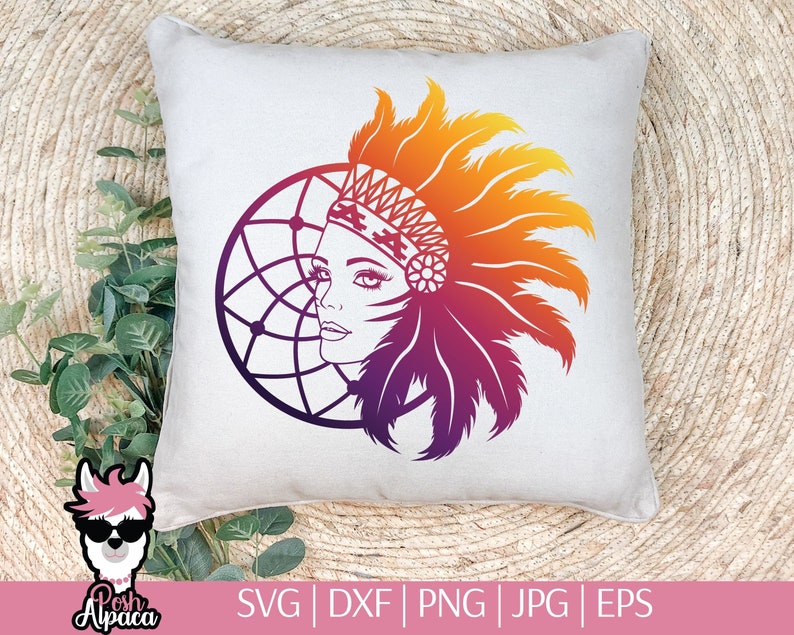
Image Credit / Etsy
Design a Native American Etched Wine Glass With a Cricut
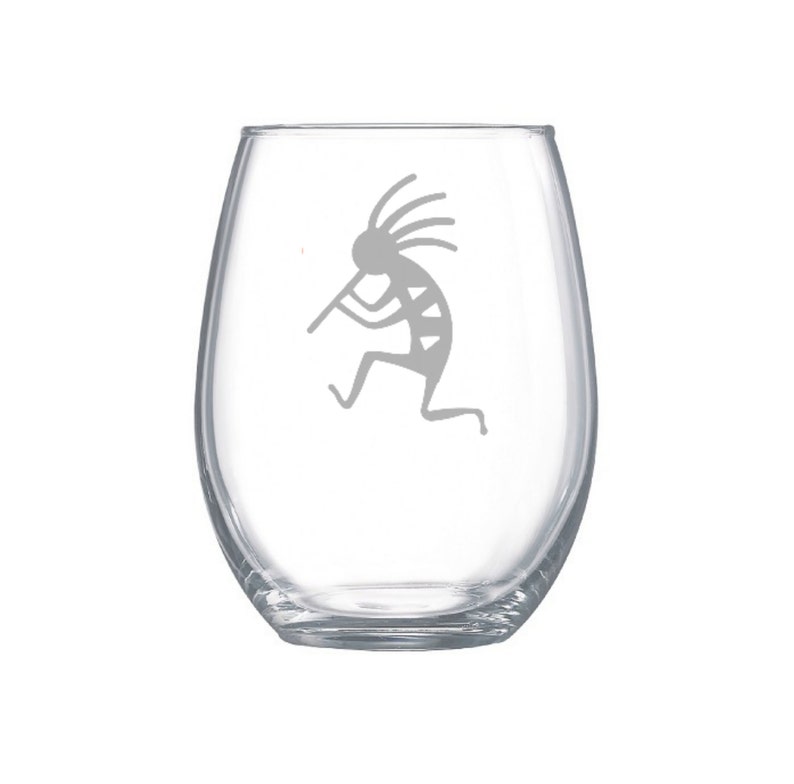
Image Credit / Etsy
Custom-etching is not as difficult as it looks. It’s actually fairly simple and doesn’t take very long to do, which lends itself to plenty of ideas for Native American crafts for a ladies' night in. Anything that is glass, you can etch. Don’t let the wine glass hinder your creativity. But a water or wine glass, or beer mug, is a good place to start if you’ve never etched something before. Again, the final product makes for a fun and personalized gift. It’s also a cheap way to make small gifts in bulk, for a bridal shower, for example.
Grab the materials you will need to etch a wine glass.
- Cheap wine glasses (look at the dollar store or hobby shop)
- Etching cream (from a hobby store or online)
- Rubbing alcohol
- Vinyl for your Cricut and transfer tape
- Small paintbrush
- Masking or painter’s tape
- Preferably protective gloves and eyewear
Make sure you use the etching cream in a well-ventilated space.
- Start by fully cleaning and drying the wine glass, ensuring no fingerprints remain on the glass, especially where you will be etching.
- Take out whichever stencil you are going to use for the project. You can make your own stencil in Design Space or have one from somewhere else. Have the Cricut cut out your design or font on vinyl. Weed your design by removing excess vinyl.
- Apply your design to the glass using transfer tape. Smooth over the design so there are no bubbles.
- Use masking or painter’s tape to border the design so that the rest of the glass is not affected by the etching cream.
- Put on your protective gloves and goggles to etch.
- Apply a thick coat of etching cream to the stenciled surface with the paintbrush.
- It is recommended that you apply the cream as quickly and safely as possible, as it starts working immediately once it hits a surface. Avoid getting the cream on other areas of the glass.
- Leave the cream on for no more than four minutes.
- To remove the etching cream, you may wash it off in the sink with soap and water while still in your protective gear.
- After the wine glass has dried, you may remove the tape and vinyl and clean it once more with alcohol
And there you have it! A beautiful etched wine glass that will be with you for many sips to come!
Making Native American crafts with a Cricut is so much more engaging than many other types of crafts. You get a sense of pride when you are finished like no other. Not only do you get to utilize unique tools to create something of your own, but you also get to fully design your product using the Cricut software first. That way, you can see exactly how your Native American crafts will look before you print them.
There are a plethora of Native American craft ideas available online to dig through; just Pinterest and Etsy alone will leave you busy for years. Crafting is such a wholesome and engaging activity to do with friends and family. While not all of the projects you'll find online are Native American crafts, you really can make them into whatever you want. Crafting is drawing inspiration from other creative minds to make something unique and artistic.
Last Updated on January 18, 2023 by Paul G
