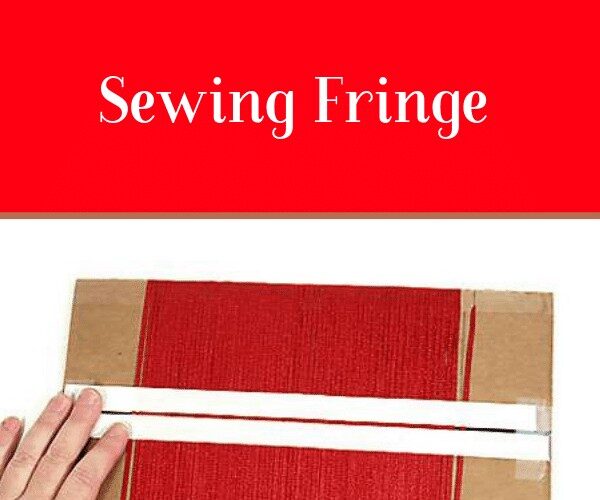
We are often asked how to sew ribbon, flat fringe, or yarn into dance outfits or shawls for Grass Dancing, Fancy Shawl, and other dance styles. The trend is to use these materials in very colorful designs. There are probably a number of ways to do this depending on your sewing experience, but Tracia Walksnice Nelson of our staff has had great success developing the method we describe here.
This method uses an iron-on adhesive called HeatnBond Lite, manufactured by Therm O Web. This demonstration uses the 5/8″ wide roll. We will show you how to prepare the fringe for sewing into seams for shawl edges or aprons and along trim lines for capes, yokes, shirts, or dresses. For your project, you need to plan ahead to conceal the taped fringe inside the seam or cover with ribbon on a trim line.
Based on the length of the fringe desired, select a flat piece of sturdy cardboard. Our example is for two sections of fringe, 8 inches long by 12 inches wide. For these dimensions, make the width of the cardboard 14 inches and the height 8 inches. This 14 inch width will allow you to make two 12 inch wide fringe sections as shown in Photo A.
Using a ruler, mark a horizontal line in the center of the cardboard on both sides, as shown in Photo B. Draw vertical lines one inch in from the edges, giving you the 12 inch width to follow as you wrap the fringe around the cardboard. Now tape the top edge of the 14 inch width of the cardboard, and also along the bottom of the cardboard, with wide scotch tape. This will allow you to slide the fringe together easier as you wrap it on the cardboard.

If you are doing color patterns, you can mark where the colors change along the center line on both sides of the form. Cut a starting slit on the top right edge of the cardboard and again on the bottom left edge for the ending of the fringe wrapping.
Cut two 13 inch lengths of iron-on adhesive tape. Tack into position along each side of your center line with the peel off paper backing facing the cardboard form. Tack them down with a piece of Scotch tape at each end . Do this on only one side of the form as shown in Photo C.

To begin wrapping, tuck one end of the fringe into the top right slit and wrap the fringe around the cardboard. (If you have color changes in the pattern, make more starting slits for each color along one edge.) When you have finished wrapping the 12 inch width, cut off the strand and tuck the end into the left slit. See Photo D. As needed, slide the wrapped fringe strands so they are neatly together along the form.

Cut two more 13 inch lengths of iron-on adhesive tape and using scotch tape on the ends, tack in place over the other two but on top of the fringe, this time with the paper backing facing you. See Photo E. Then use the instructions on the HeatnBond package for ironing until the adhesive turns milky in color. Photo F.


Turn the form over and cut the fringe along the marked center line. Photo G. Remove the paper tape covering from both sides of the adhesive covered block of fringe. Cut the two pieces apart between the tape lines as shown in Photo H.


You are now ready to insert these two fringe sections into a planned seam or along a trim line. If you can't sandwich the fringe into a seam, plan to cover it with a ribbon as shown in Photo I.


Copyright 2005 by Loren Woerpel, Noc Bay Publishing, Inc.
Last Updated on December 13, 2023 by Paul G