Porcupine quills were used by Native people of the Great Lakes area as decorating materials long before the introduction of seed beads by the European traders. This seemed to be true where ever this animal was found in the wooded areas of the northern continent.
Quills were dyed colors with natural dyes, used in their round state, or flattened and used as a platting material. The most renowned decorative use of quills in the Great Lakes area was and continues to be on birch bark baskets.

In recent times, quills have become popular for use in earrings in combination with beads and other findings.The project shown here uses the quills as decorative natural tubes cut to desired lengths. They can be left as natural white, or dyed colors by simmering them in a pan of fabric dye until they reach the desired color.=
The first step is always to clean the quills by simmering them in hot water and then wiping them clean. Match them up in size and colors for your project, and cut off the sharp tips on both ends. Until they are cut, handle the quills with care. They are sharp!
Photo 1 shows the details of a simple design of dangle earrings. Variations of this pattern is possible by changing count and color patterns of the beads.

Start by threading up a beading needle with about 18 inches of size “B” nylon thread. the thread is used as a single thread, not doubled in the stitch. Coat the thread with bees wax or thread conditioner. Tie the bottom end of the thread on the eye of an eye pin as shown in Photo 2. Create the pattern of the first loop and tie it on the eye with a knot. Do not cut the line. Duplicate that loop and tie off on the eye again with a double knot. Trim off the excess thread. A touch of glue on the knots will harden them.
The quills may not be hollow. You might need to use a jewelry pliers to carefully push the needle and pull the thread through the core of the quill. Another technique is to start the needle through the quill, then set the eye of the needle on the table and pull down the quill.

Metal cones as shown in Figure 3 are an excellent way to cover the messy knot ends and to provide the hinge position to attach the ear wire. Slip the eye pin wire end through the cone as shown. Finish by making a loop, (if you don’t have a round nose pliers, form the loop over a medium size nail) and twisting the end around the wire at the top of the cone as shown in Figure 4 and in Photo 5 when using the pliers. (This Photo 5 doesn't show the bead and quill dangles in the cone however.) Cut off the excessive wire.


Attach the ear wire to this loop as shown in Photo 6. When attaching french hooks to earrings, always open the bottom loop of the hook by bending it sideways. insert the earring through the opening and bend it back to finish. never open these by bending the circle of the loop open.

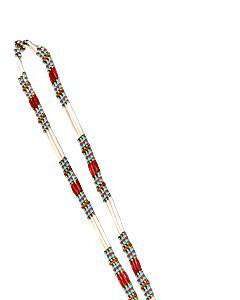
Other earring designs as shown in Figure 7 may be developed using quills and these same materials. We encourage you to experiment with your own designs. Work out ideas to hide the knots near the top of the earring inside beads or in cones as we have here.


Copyright: 2005 by Loren Woerpel, Noc Bay Publishing, Inc.

Last Updated on December 13, 2023 by Paul G