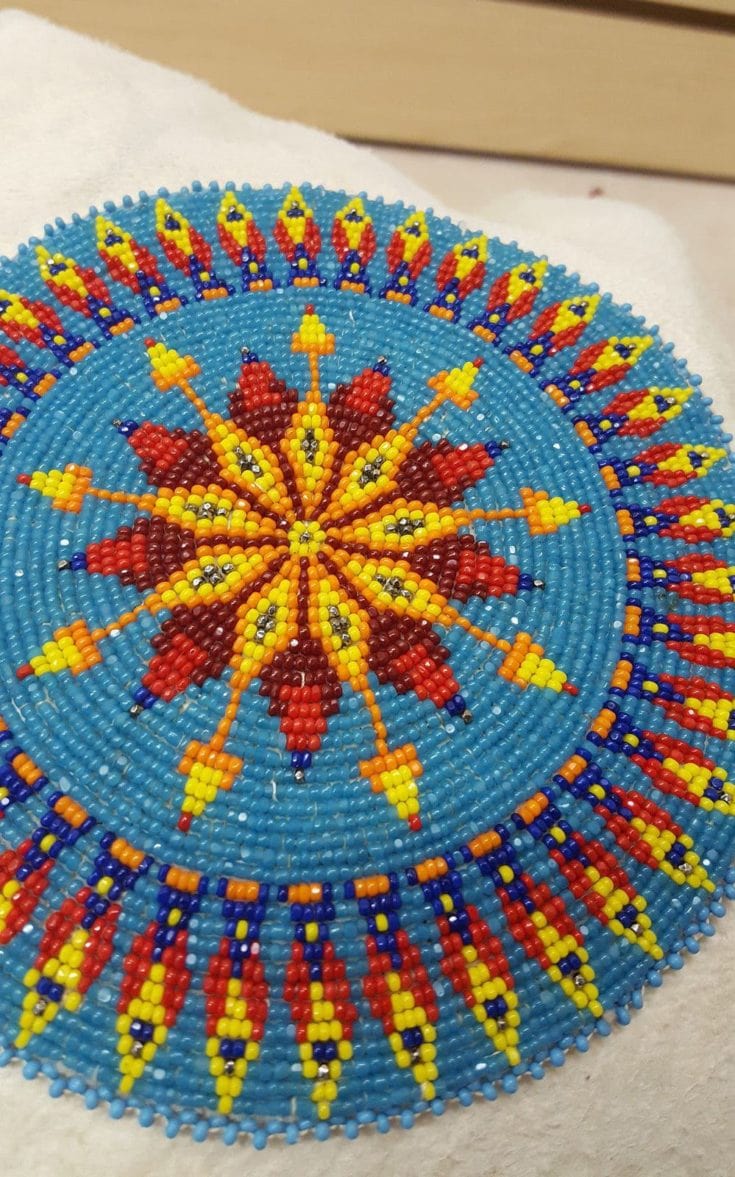
This project will help you learn to do applique rosettes on a small project. Beaded medallion necklaces have been popular for both men and women dancers for many generations. These instructions suggest using the new beading foundation as the material to sew the beads onto. It is a stiffened fabric that helps you keep the rosette flat while pulling the threads tight (Figure 1)

Materials needed for a 2 inch diameter medallion:
1 – Piece of Beading Foundation 2 1/8″ x 2 1/8″
2 – 3/4″ Brass cones
1 – Soft leather thong 42″
2 – Hairpipe
12 – Crow beads
1 – Piece of leather for backing 2 1/8″ x 2 1/8″
1 – Bobbin of “B” nylon thread
1- Sharps needle, size 11
1 – Piece of bee's wax
Assortment of seed beads, usually size 11
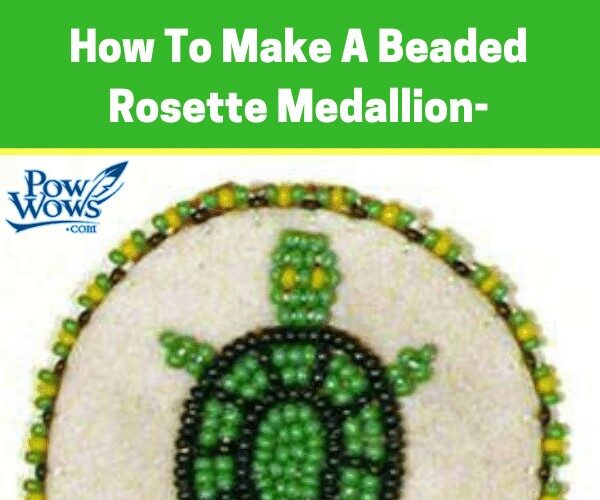
The first step is to decide your pattern using the color beads you have. A planning graph pattern is shown here (Figure 2) which you can use if you are doing a centered circular pattern. Use color pencils and plan the pattern. For image patterns like the turtle in our photo, draw the image out on the beading foundation with a pencil.

Thread your needle with a length of nylon thread. Pull the needle to the center of the thread length and double over. Wax the thread by pulling it through the bee's wax block several times with your thumb over the thread.
With either style you will be using the applique stitch shown in Figure 3. Knot the beading thread and come up with the needle through the foundation at the starting point. Usually this is at the center of the pattern. The basic step is to thread on 4 beads, stitch through the foundation, and come back up with the needle two beads back. Then pass the needle through the last 2 beads, then string on 4 more beads. Repeat the process until you return to the start of that row.

Figure 4 shows the pattern of starting the rows in the center of the rosette. Note that you start by sewing one bead into the center position.

If you are planning an image design like our turtle pattern, usually you will start sewing the beads on the outside of the pattern and then add rows on the inside until finished. For example in the turtle pattern the outside outline row of the turtle back is done first, the turtle back is then filled in, and the head, feet, and tail are added last.

Doing this kind of beading, you often have to select the width of the bead that will fit, especially the last few beads in a row. To finish a row, as you fit the last one or two beads in position, thread the needle into the holes of the first two beads sewn in that row. Pull the thread tight and then pass the needle through the foundation to fasten that row of beads in place.
You are ready to start the next row by bringing the needle up through the foundation in the start position for the pattern. If you need more thread, knot your thread on the back of the foundation and then make up a new thread and needle set up as discussed above.

When your bead work is finished, trim the foundation to match your pattern. Cut out a circle of backing leather to match. Attach the backing leather to the back of the foundation covering all of your threads and knots. A little tacky glue can be used. Sew edge beading to fasten the two layer together.

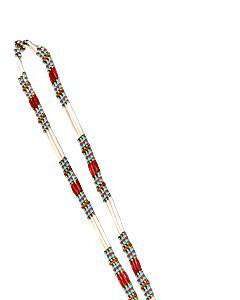
Cut the leather thong to fit the necklace over your head. Thread the haripipe and crow beads on and sew the necklace thong to the back of the rosette as shown in Figure 7.

Finish by slipping the ends into a metal cone and crimp the top with a pliers (Figure 8).

Copyright 2003 by Loren Woerpel; Noc Bay Publishing, Inc.
How To Make a Beaded Rosette Medallion
This project will help you learn to do applique rosettes on a small project. Beaded medallion necklaces have been popular for both men and women dancers for many generations.
Materials
- Materials needed for a 2-inch diameter medallion:
- 1 – Piece of Beading Foundation 2 1/8″ x 2 1/8″
- 2 – 3/4″ Brass Cones
- 1 – Soft leather thong 42″
- 2 – Hairpipe
- 12 – Crow beads
- 1 – Piece of leather for backing 2 1/8″ x 2 1/8″
- 1 – Bobbin of “B” nylon thread
- 1- Sharps needle, size 11
- 1 – Piece of bee's wax
- Assortment of seed beads, usually size 11
Instructions
- The first step is to decide your pattern using the color beads you have. A planning graph pattern is shown here (Figure 2) which you can use if you are doing a centered circular pattern. Use color pencils and plan the pattern. For image patterns like the turtle in our photo, draw the image out on the beading foundation with a pencil.

- Thread your needle with a length of nylon thread. Pull the needle to the center of the thread length and double over. Wax the thread by pulling it through the bee's wax block several times with your thumb over the thread. With either style you will be using the applique stitch shown in Figure 3. Knot the beading thread and come up with the needle through the foundation at the starting point. Usually this is at the center of the pattern. The basic step is to thread on 4 beads, stitch through the foundation, and come back up with the needle two beads back. Then pass the needle through the last 2 beads, then string on 4 more beads. Repeat the process until you return to the start of that row.

- Figure 4 shows the pattern of starting the rows in the center of the rosette. Note that you start by sewing one bead into the center position.

- If you are planning an image design like our turtle pattern, usually you will start sewing the beads on the outside of the pattern and then add rows on the inside until finished. For example in the turtle pattern the outside outline row of the turtle back is done first, the turtle back is then filled in, and the head, feet, and tail are added last.

- Doing this kind of beading, you often have to select the width of the bead that will fit, especially the last few beads in a row. To finish a row, as you fit the last one or two beads in position, thread the needle into the holes of the first two beads sewn in that row. Pull the thread tight and then pass the needle through the foundation to fasten that row of beads in place.
- You are ready to start the next row by bringing the needle up through the foundation in the start position for the pattern. If you need more thread, knot your thread on the back of the foundation and then make up a new thread and needle set up as discussed above.

- When your bead work is finished, trim the foundation to match your pattern. Cut out a circle of backing leather to match. Attach the backing leather to the back of the foundation covering all of your threads and knots. A little tacky glue can be used. Sew edge beading to fasten the two layer together. Cut the leather thong to fit the necklace over your head. Thread the haripipe and crow beads on and sew the necklace thong to the back of the rosette as shown in Figure 7.

- Finish by slipping the ends into a metal cone and crimp the top with a pliers (Figure 8).

Notes
Copyright 2003 by Loren Woerpel; Noc Bay Publishing, Inc.
Learn to make more Native American Crafts in our Craft Tutorials.

Copyright: 2005 by Loren Woerpel, Noc Bay Publishing, Inc.
Last Updated on November 25, 2019 by Paul G