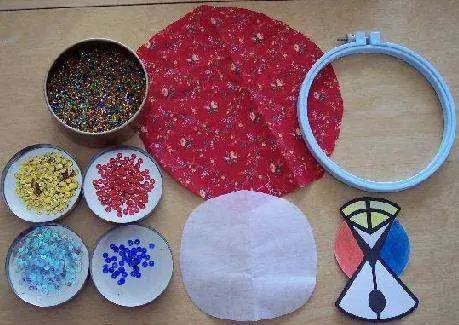
What you will need:
pattern
spare fabric (non-stretchy)
interfacing (only needed if fabric is thin)
embroidery hoop
sequins
seedbeads
1 needle
beading thread
fabric glue
scissors
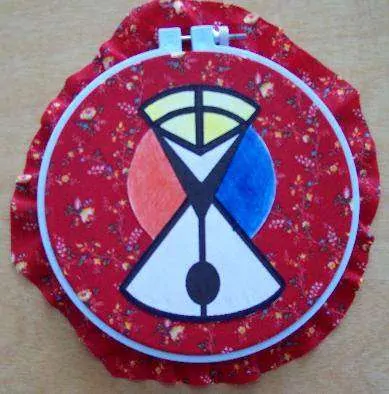
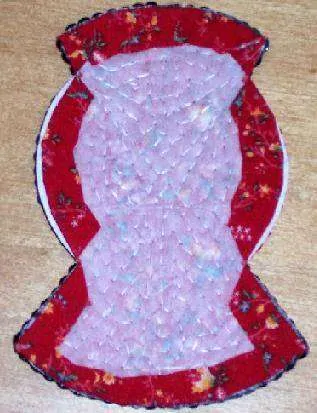
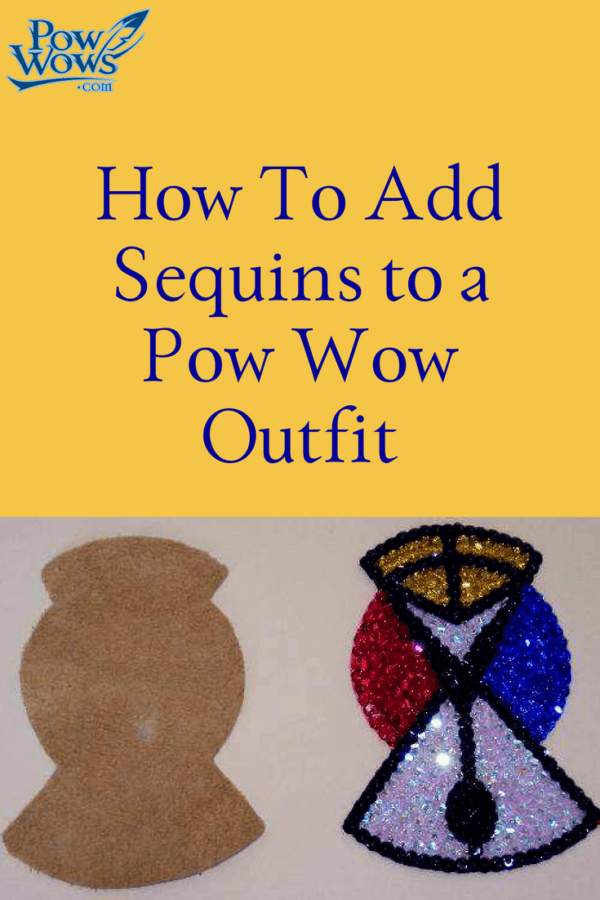
A note about your pattern: I like to draw a to-scale pattern in color. This will give your finished product a more complete appearance because round sequins will let some of the backing material show through. If the backing material is covered with a well-designed pattern, what shows through will match!
Ready for the next step but first a word about the sequins I use…I just get the el-cheap-o 99 cent bags of separate colors at Hobby Lobby or WalMart. I've also bought the grande bag with the colors all mixed up, then just picked out the colors as I needed them. I buy the 6mm faceted sequins, but you can buy flat sequins, shapes, and larger faceted ones. I also like to buy the el-cheap-o bulk bag of multicolored silverlined transparent seed beads to use as topper beads…you can match almost every color and they sparkle too!
Okay, now stretch your fabric on your hoop and glue your pattern on top (a thin line of fabric glue around the edge of your pattern is plenty).
Now flip over your hoop and stick the interfacing to the back with a little fabric glue. This helps reinforce your stitches and gives the finished piece a little more body.
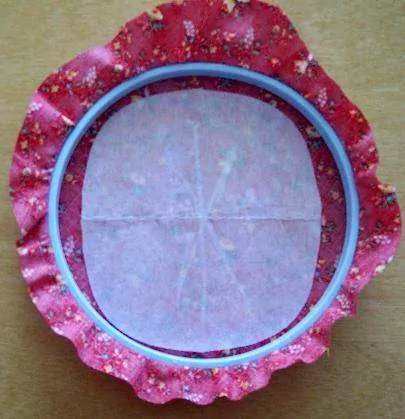
Psssstttt….Let your glue dry before you sew!
MmKay, now were ready to start!
I like to do my lines or outlines first. I use a single needle/thread to do a sort of running stitch.
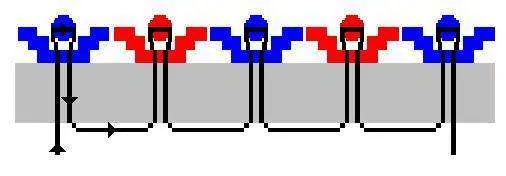
The bead is the anchor, but the sequin is between the fabric and the bead. Make sure your sequin “cup” is facing up.

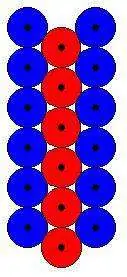
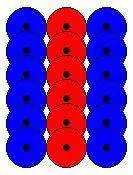
Now, about sequin placement…I use both of the following methods:
Sometimes sequins overlap like fallen dominos…
sometimes sequins barely touch at the edges…
It just depends what kind of mood you're in I guess!!!
Also, overlapping ones seem to cover better and leave less pattern showing through…but barely touching ones cover the pattern a little faster.
Whew…still going!
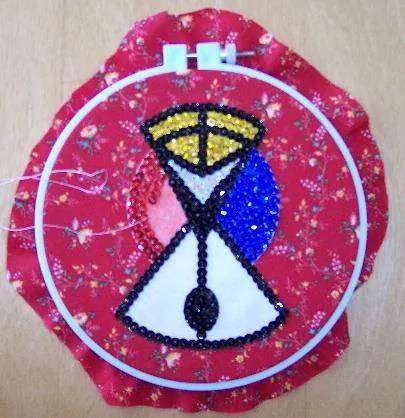
Now it's time to fill in the big spaces. Same technique…only advice here is to try to keep symmetry in your work so your sparkle will be equal on both halves of the pattern! And TRUST ME, this stuff sparkles BIG TIME, especially in the sun!
Okay, I'm gonna take a break after this post and let y'all study up on all this info! Got questions??? HIT ME WIT EM!!
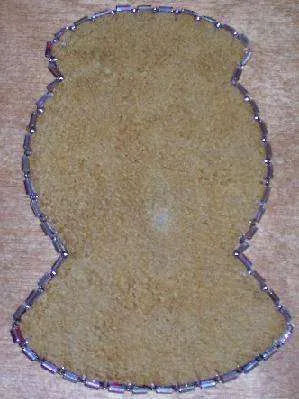
Next step…..take your work off the hoop and trim the fabric to about 3/4 of an inch away from the edge of your sequins:

Now flip it over and trim the interfacing really close to your stitches (careful not to cut any thread though)!
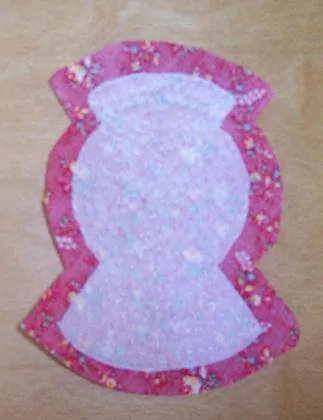
Now, fold and glue the excess fabric against the back of your work. I like to snip the excess fabric into little flaps that fold separately (this is particularly helpful around curved edges). By doing this, your edge stitches are reinforced and protected from fraying! Press it under a heavy book until dry.
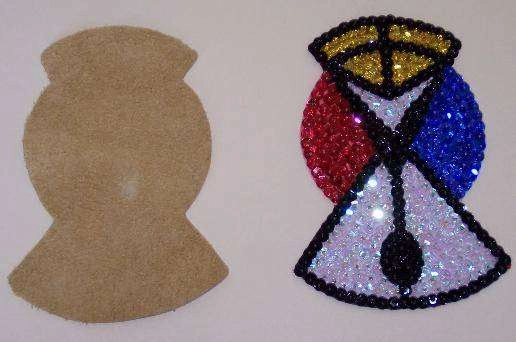
Now, trace and cut some buckskin for backing material. Glue it to the back of your work and press under a heavy book to dry (remember to do any pre-work necessary for barrettes or ties before you glue it).
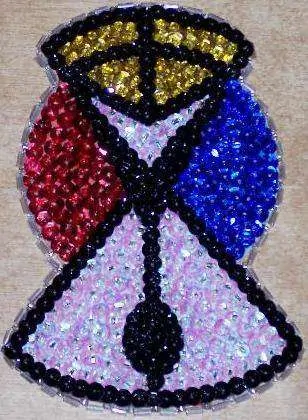
Next, just edge bead it and TaaahDaaaah!
This piece took me a total of 4 hours to complete, excluding drying time! Wicked coooool!
Tutorial originally posted in the PowWows.com forums by walela49.
Last Updated on July 2, 2018 by PowWow Articles

Judy Cole
says:What does this sequin and bead symbol represent? I’ve not see it before. Thank You, Judy
Patti Brundle
says:This is the way my mom taught me 70 years ago to sew sequins. I’ve been doing it since and even used the lesson when making skating costumes for my daughters and others.
Bradford Penrod
says:Thank you so much for the tutorial! I am a bead crafter and this really adds dimension to some of my projects. Nothing catches the light like beads and sequins!
Ms. Wysper J Harris
says:Does anyone use the sequins ideas on ladies southern cloth?
Patty
says:That is beautiful. Thank you for posting this. I’m going to try one after I finish my cross stitching projects.
Thank you, Patty